If you've ever tried to animate anything and been totally terrified like me, RunwayML just made animating a whole lot easier with their Gen 2 release. Now you can take a flat image and animate. We can start where we're comfortable!
If you don't have a RunwayML account, it's totally free to create. They will also give you some introductory credits to allow you to play around with the software before fully committing to payment plans. You won't be able to remove the watermark from your animations, but you'll be able to see if it makes sense in your tool suite before fully committing, which I think is pretty great!
So let's get started.
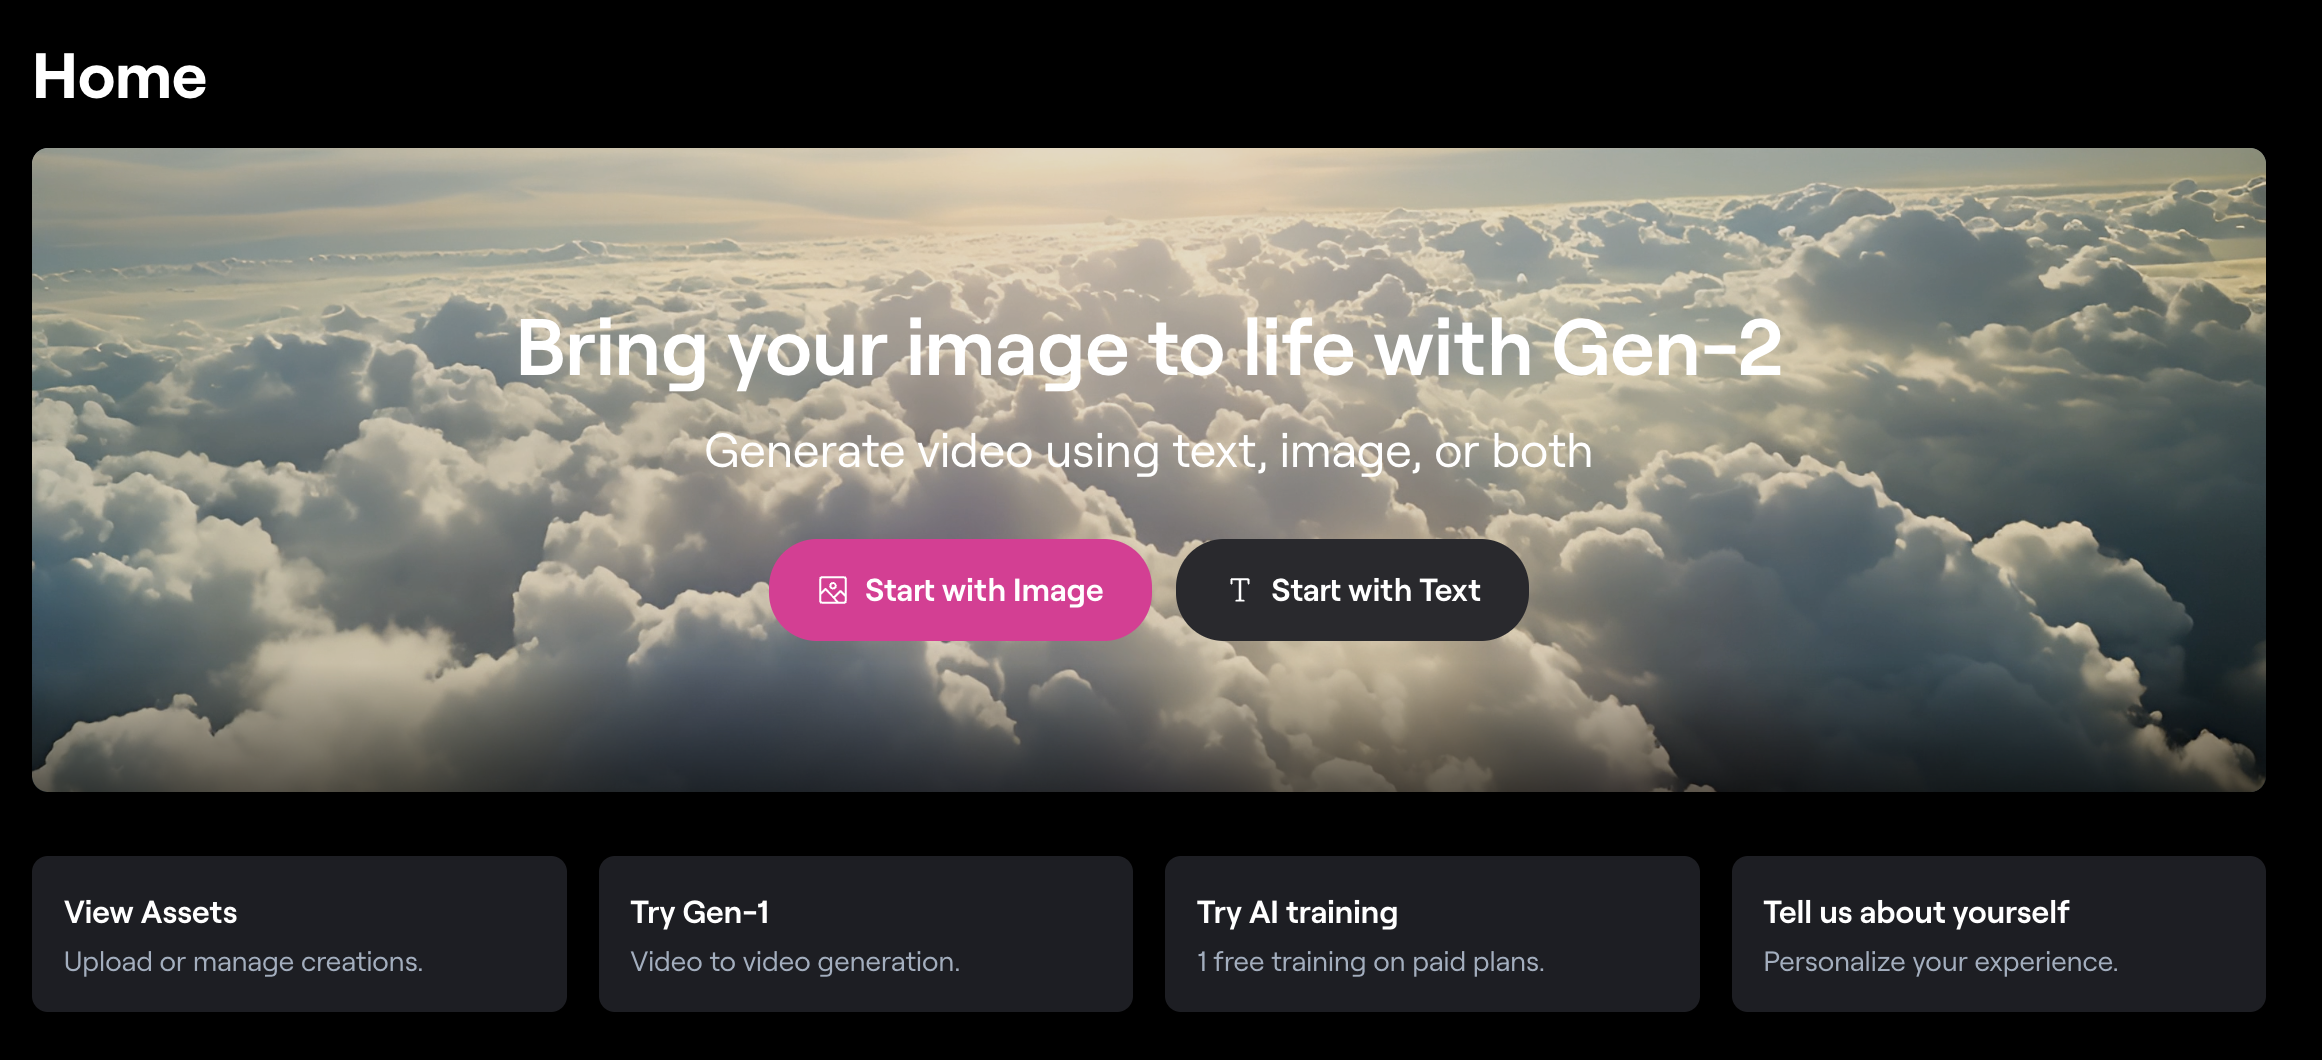
After you've signed in you'll see a few options, but the most prominent is the ability to generate with Gen 2! The first step is to upload the image you want to animate. (Note, you can also do a text prompt and generate a video from just a thought or idea!)

RunwayML Gen 2 Motion Options
Once you've selected get started, and have uploaded your image, you'll see a few options.
You'll see settings, motion strength, camera motion, and motion brush.
Motion Strength
In the Motion Strength panel you'll be able to increase or decrease the intensity of the motion in your video. By default it will be set to 5 and you can choose to go higher or lower.
Camera Motion
In the Camera Motion panel you can specify the intensity of the camera as if you were filming. You can change the direction of the camera angle, how the final result will pan within the frame, and more! By default, all of these options are set to zero, and you can adjust them as you desire.
For the purpose of this exploration, we're going to leave everything at the default.
Rendering Motion
Let's explore the ways you can use Gen 2 to render motion out of the box.
Apply Motion to Base Image
First, with our uploaded image we can choose to simply generate. We don't have to change any settings, or do anything but let the AI work! If you do this, be prepared to get some unexpected results, because you are not telling the AI how you want the animation to appear.
Here is the result:

Unfortunately I can't figure out how to compress these images enough to fit into my blog just yet, so to see the full animation visit this instagram post. If you don't have instagram, message me and I'll send it to you!!
Apply Motion with Text Prompt on Base Image
If you're not satisfied with the results (like me) you can speak to the AI and give it some directions on what you want the motion to look like. Where in the image you'd like it applied and how you want it to move. With my first example my motion was not refined to just the paint that I was expecting to animate, and it ended up animating the entire image and even giving real-life movement to the figure with a blinking eye. (I did think this was pretty awesome, but not what I wanted!)
We can go to the panel that says "Image + Description" and type in a prompt alongside our upload to guide a more expected animation from the AI.
In this case we kept our same image and added the prompt: "paint dripping in front of a photo of a woman".
Here is the result:

Again, reminder, I can't figure out how to compress these images enough to fit into my blog just yet, so to see the full animation visit this instagram post. If you don't have instagram, message me and I'll send it to you!!
Apply Motion with Motion Brush
If that still doesn't get you what you're looking for, you can actually get way more specific with the beta Motion Brush tool.
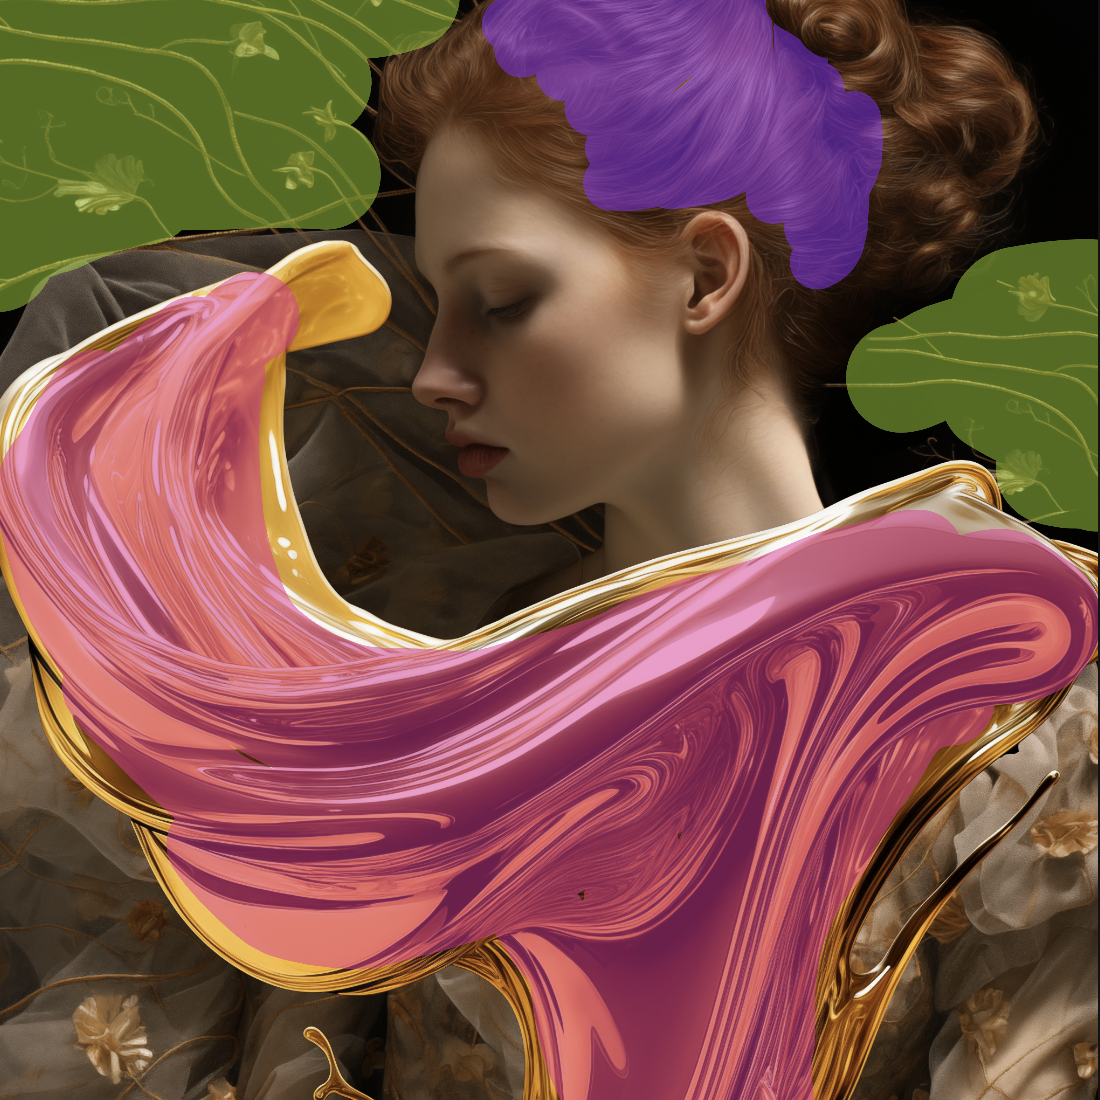
If you click on Motion Brush you'll see a new window with an option to start painting on your image. You can paint up to 5 different brush layers and choose how each layer you've brushed will animate. The options are horizontal, vertical, proximity, and ambience.

I've chosen to paint 3 different layers and choose different options or directions for the movement to get an idea of how we can control the final image.
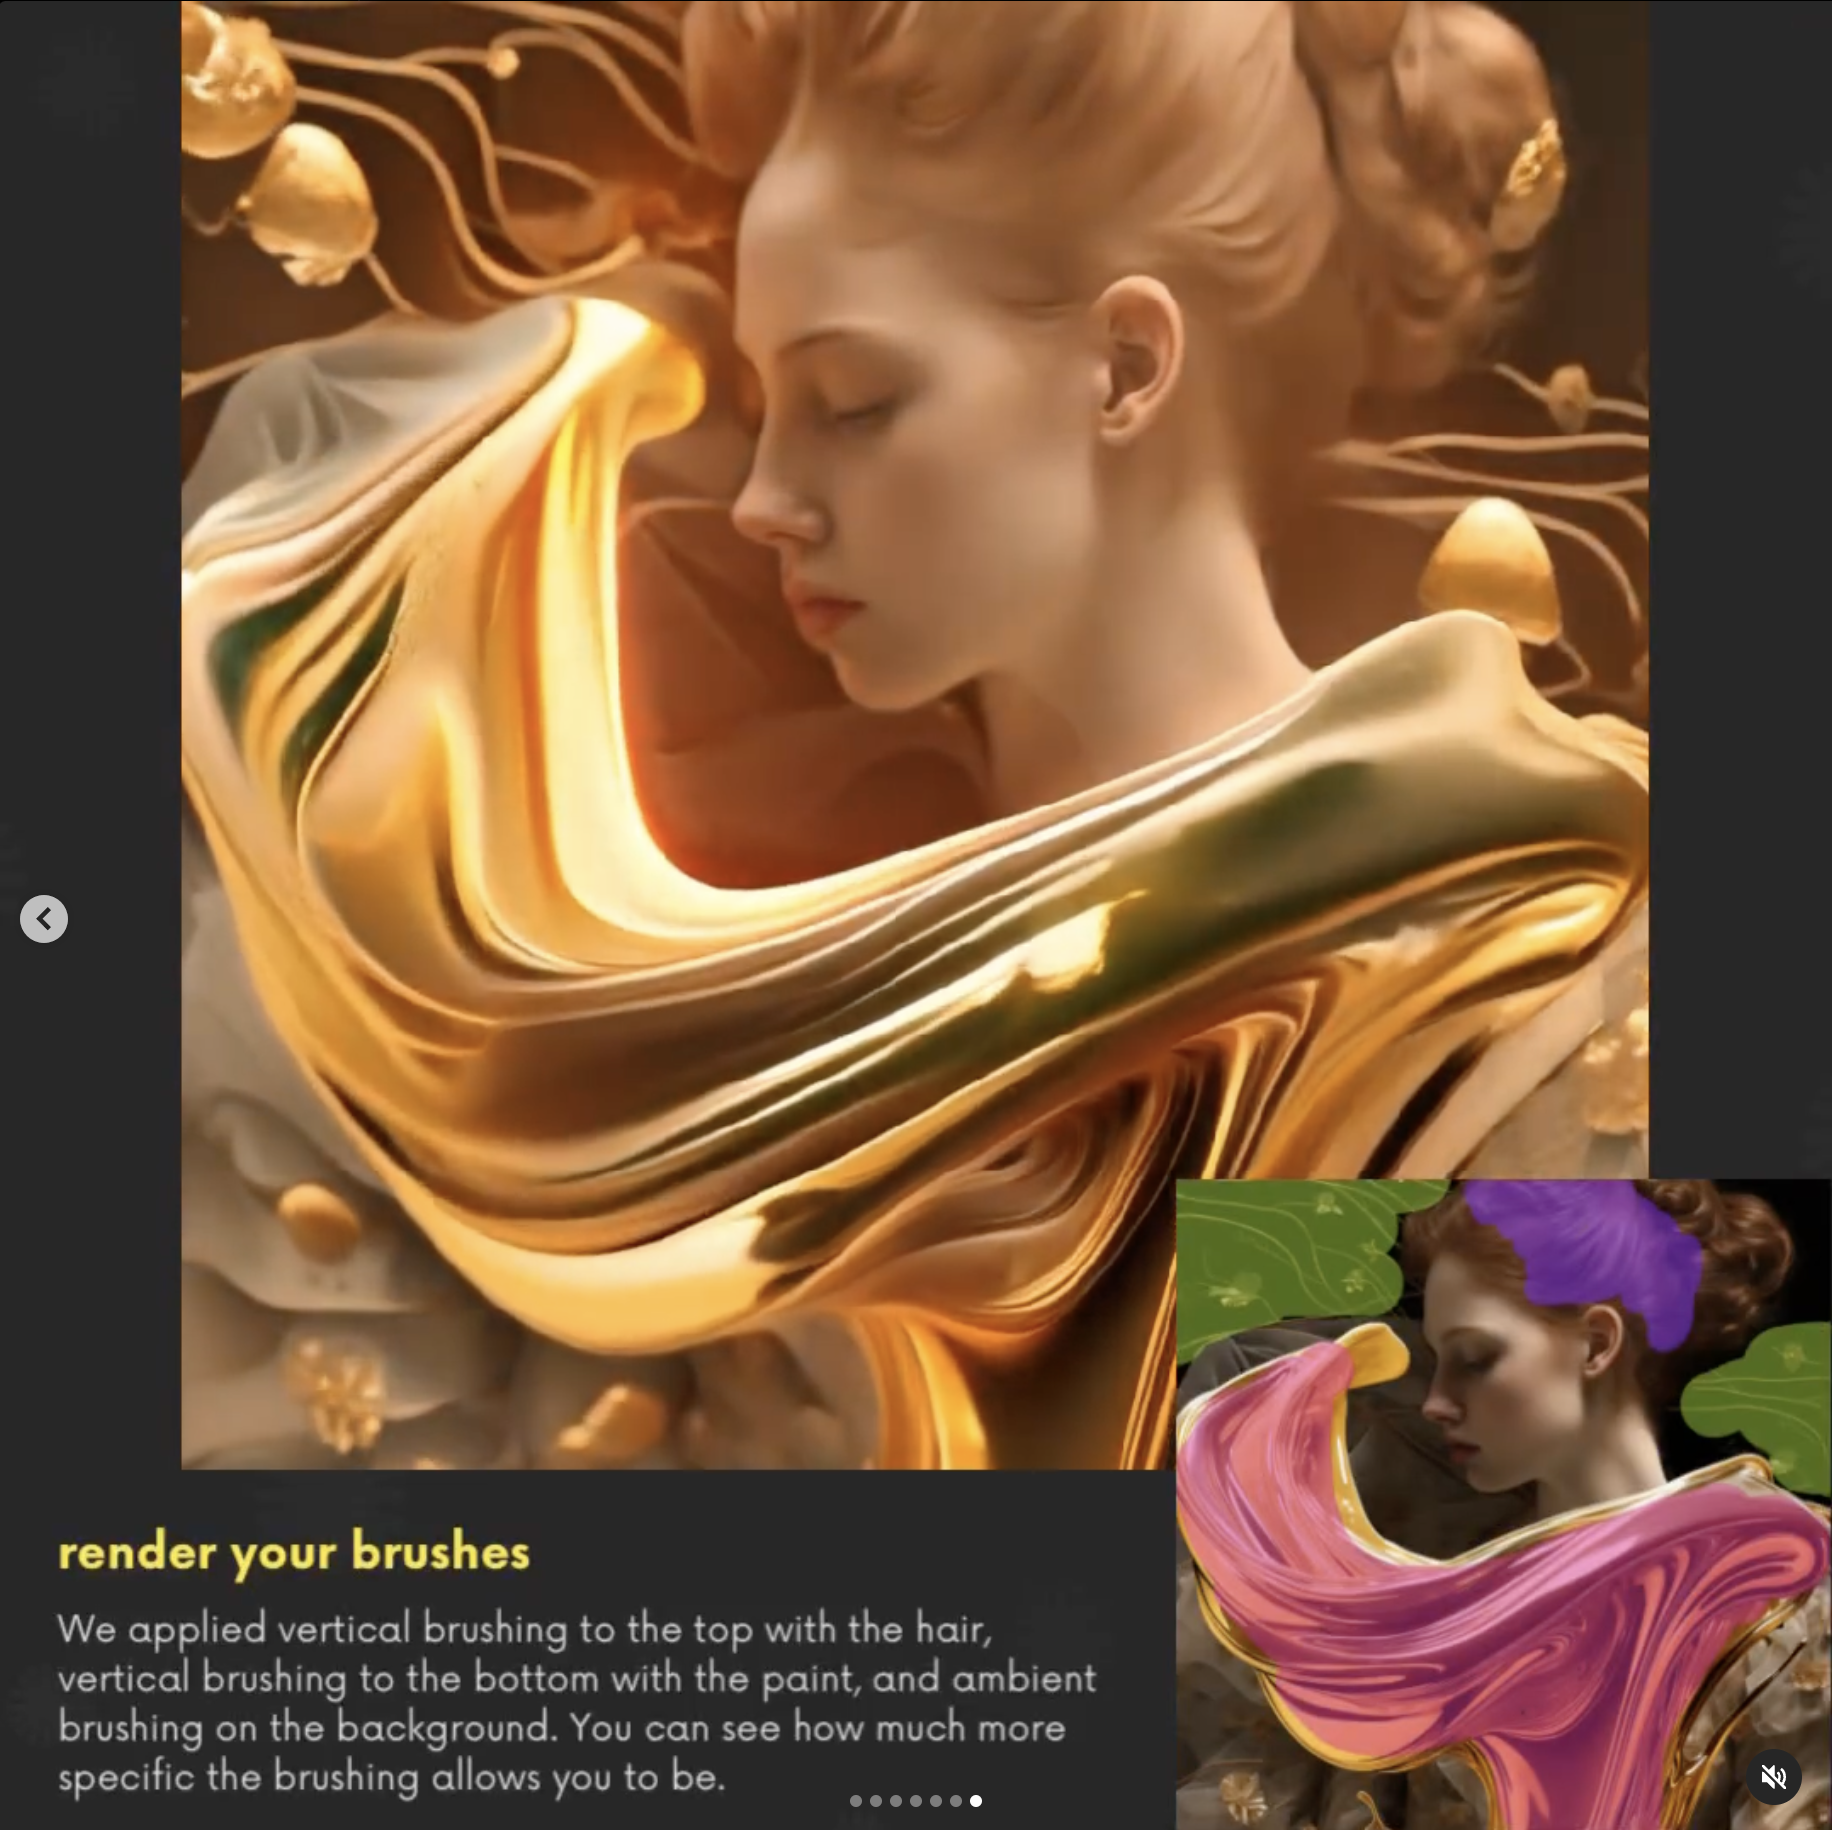
With a vertical to top brush applied on the hair, a vertical to bottom brush applied on the paint, and an ambient brush applied to the background, you can see the final result is much more specific.
Last but not least, the final result:

Again, reminder, I can't figure out how to compress these images enough to fit into my blog just yet, so to see the full animation visit this instagram post. If you don't have instagram, message me and I'll send it to you!!
My Takeaway
The biggest thing I don't like that I can't seem to control yet is the fact that it is adding random lighting to every output. I do not want to change the vibrancy or contrast or where light is coming from on this particular image and there doesn't seem to be a way to avoid that yet. I'm curious of anyone else has a way they've avoided that so far?


